Adding Video or Document Links in a Lesson Briefing
You can add videos or documents directly into a lesson description to support your students during preparation and briefing. Upload your documents to the FlightLogger Document Library, or host your videos on a streaming platform such as YouTube or Vimeo. Once you have the link, simply insert it into the lesson description.
This feature lets instructors and students access all learning materials easily while keeping resources centralised within FlightLogger.
If you want to link a document, upload it to the FlightLogger Document Library and link directly from there.
If you want to link a video, we recommend uploading it to a streaming platform such as YouTube or Vimeo. These services allow you to protect your videos by setting them as unlisted, so only users with the link can view them.
*Note: You can add links or other content to lessons in a program revision even if active students are attached. This counts as a minor change, so it can be done safely without affecting ongoing training.
To insert a link to a document
Ensure you have the right permission to see and edit programs.
*Note: Learn more about Permissions in our article Permissions
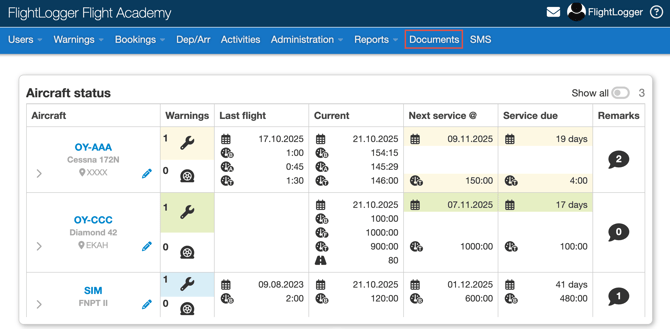
Open your Document Centre.
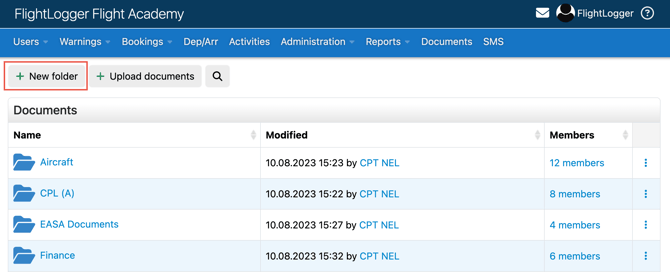
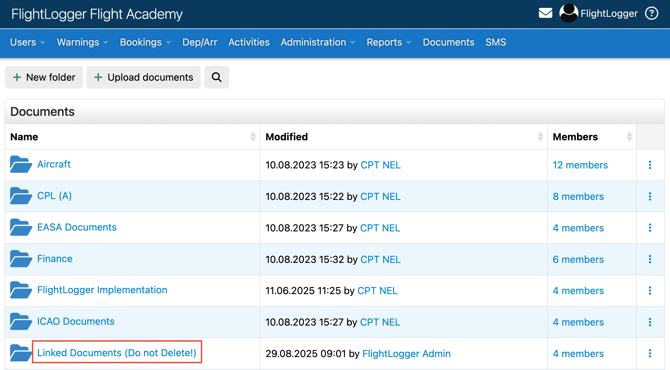
Create a new folder and give it a clear name, for example "Linked Documents".
Open the newly created folder.
Upload all relevant documents you want to link to.
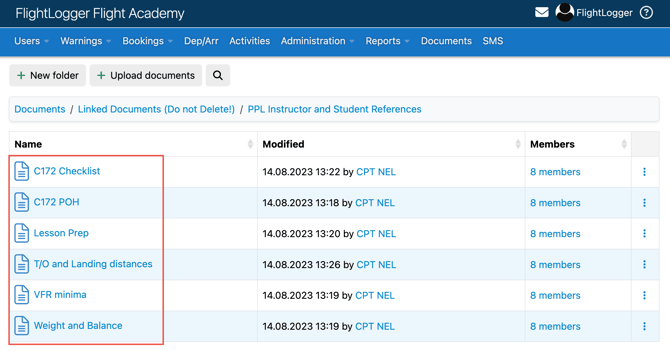
Once the documents are uploaded, click the three-dot menu in the right-hand column next to the document you want to use.
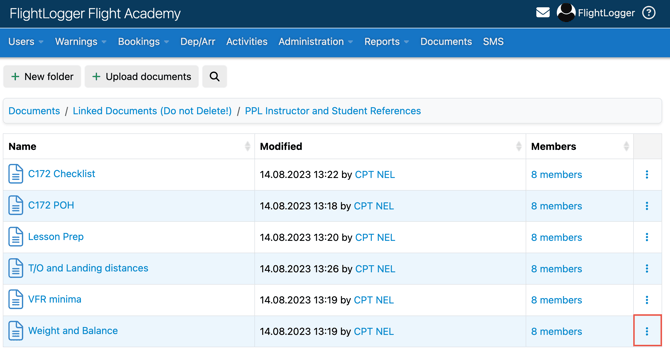
Select Copy Link.

*Note: Always make sure the document is shared with the relevant users so they have access to view it through the link.
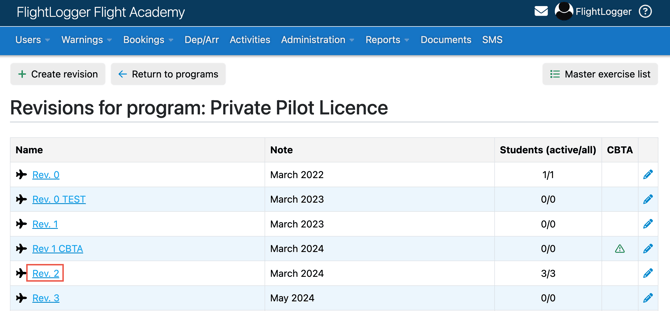
Go to Administration → Programs
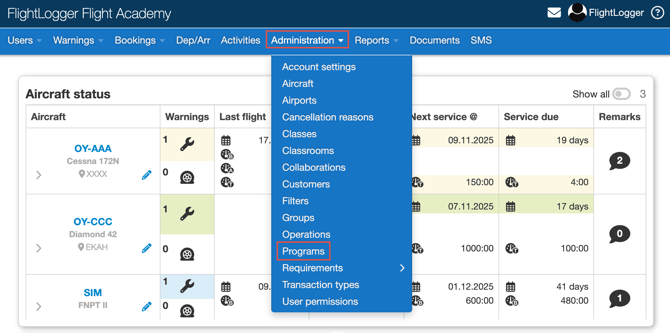
Select your program.
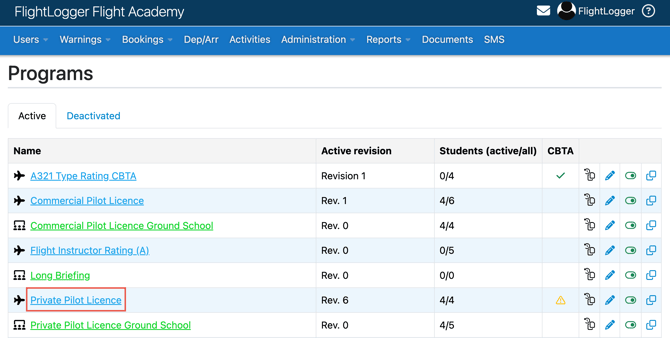
Choose the revision you want to edit.
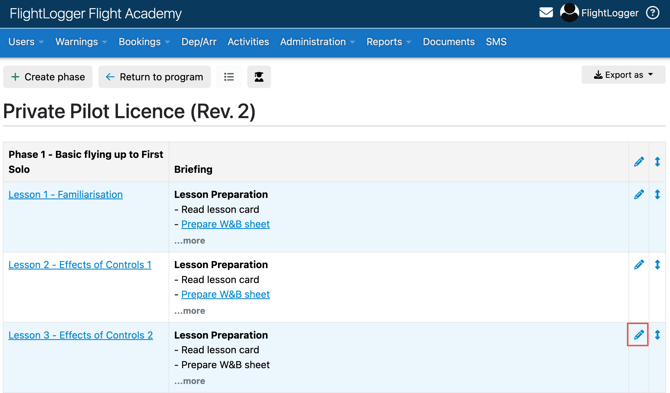
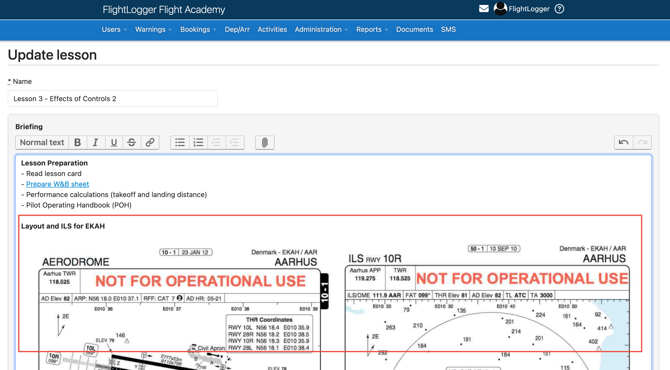
Click Edit on the specific lesson, which will open the Briefing page.
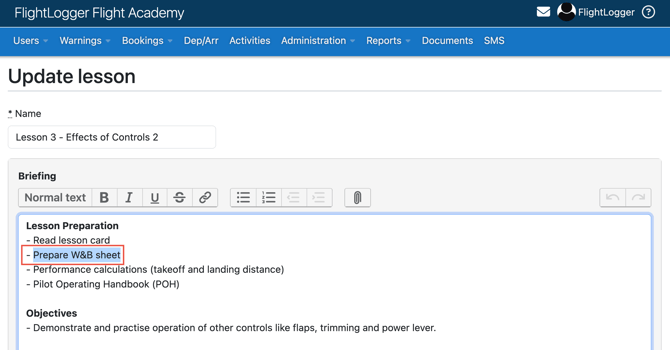
Mark the text you want to turn into a link.
Click the link icon.
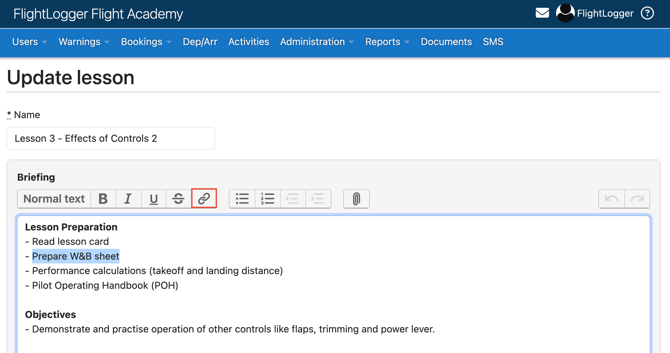
Paste the URL of the document from your Document Centre that you want to link to.
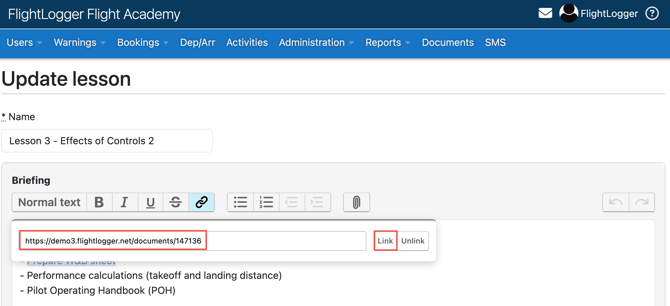
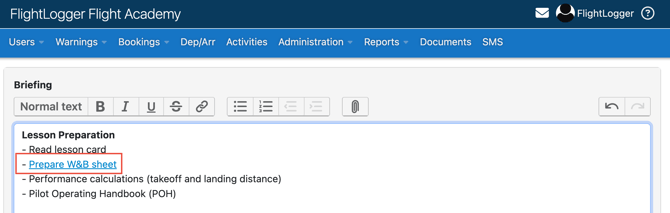
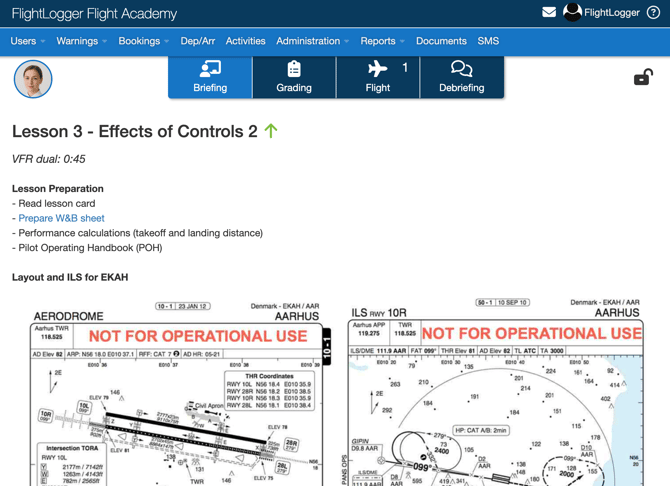
If the link has been added correctly, the text on the Briefing page will appear in blue, showing that it is now an active link.
*Note: Remember to scroll to the bottom of the page and click Save Lesson to make sure your changes are applied.
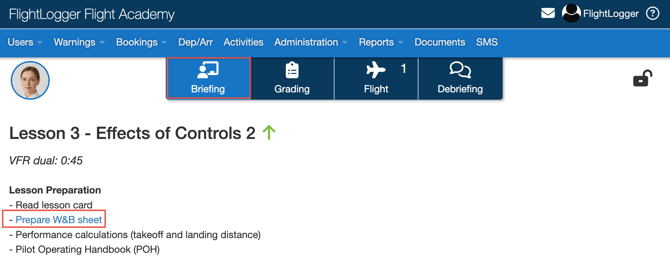
The newly created link, will now appear as an active link in the Briefing section of the Lesson Registration page, allowing instructors and students to open the document or video directly from there.
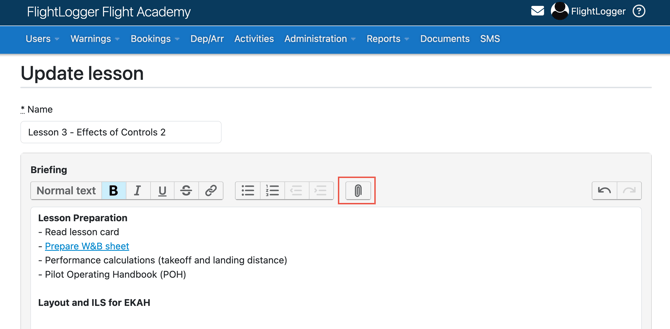
To attach files
You can also attach files directly to the lesson description without using the Document Centre.
After you save the lesson, the newly attached files will appear in the Briefing section of the Lesson Registration page.
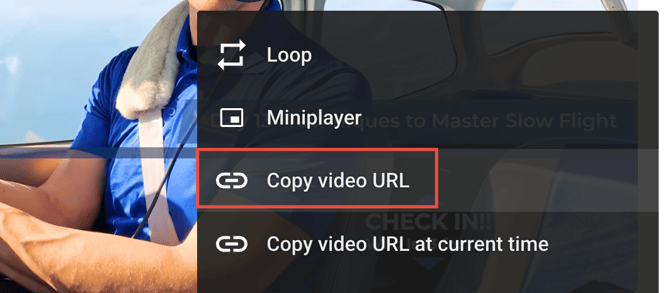
To link a video
To add a video URL, simply right-click on the video, select to Copy the URL, and paste it into the Briefing setup, following the same steps as for documents links setup.