
Before starting
Before starting a new revision, decide whether your updates are minor or major, and check if there are any students active (or previously active) on the program.
-
Minor changes (e.g., updating a name, description, or syllabus time) can be made directly on the active revision, even if students are or have been attached.
-
Major changes (e.g., adding or removing lessons or exercises) require a new revision if any students are or have ever been active on the program.
Learn more about the difference in our article Editing training programs - major and minor changes
Steps to Create a New Revision
Ensure you have the permissions to view and edit programs.Learn more about Permissions in our article Permissions
Go to Administration → Programs.
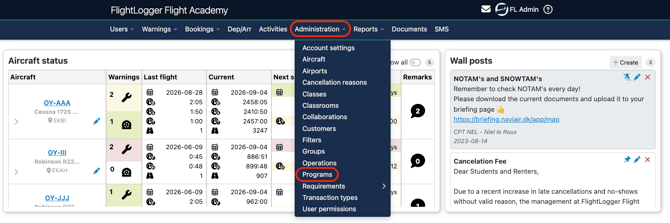
Open the program you want to update.
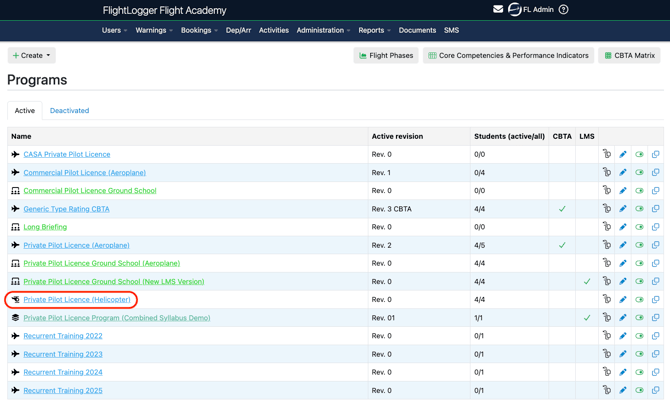
This will take you to the Revisions overview. Now click Create Revision.
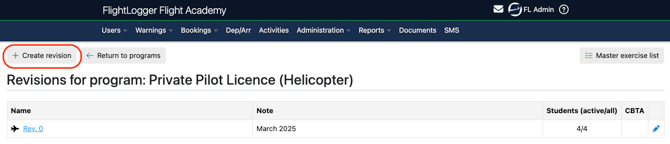
Give the revision a name, if needed, add any comments and External references. To save time, you can use one of your existing revisions as a template (The current revision is recommended since it's the most up to date.) This creates a copy of that revision, where you can then make your changes.
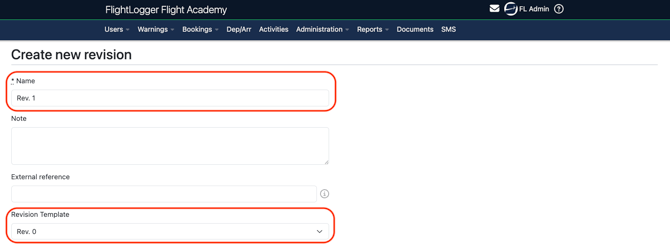
Fill in the rest of the options, if change is needed here
Learn more about these options in our article Creating a new training program from scratch
Click Save revision to create the new revision.
The cloning process may take a little time, depending on the size of the revision. Once it’s done, the new revision will appear in your Revisions overview. To start making your major changes, simply click on the name of the newly created revision.
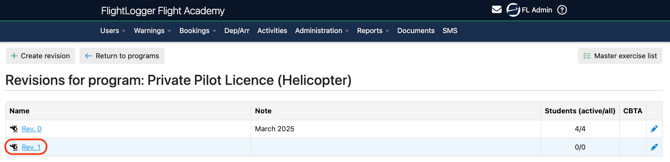
All changes to the pre-briefing section or the lesson times are considered minor changes. These can be made by simply clicking the Edit icon.
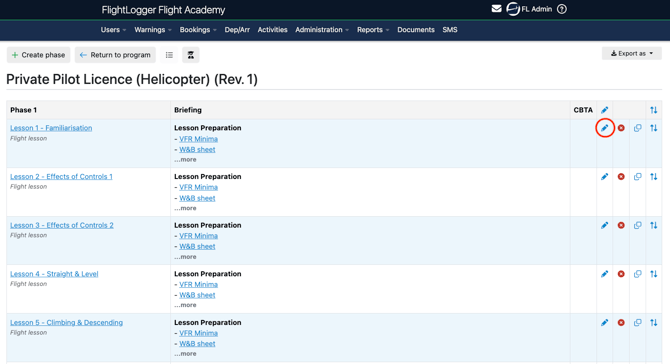
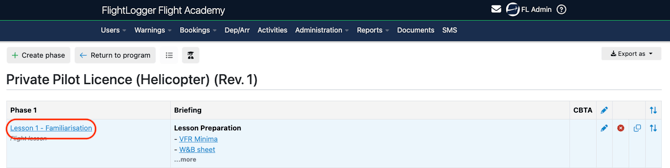
1. A delete column (red circle with a white cross) to remove a lesson.
2. A clone column to quickly copy a lesson. This makes it easy to create multiple similar lessons, just clone one and adjust it as needed.
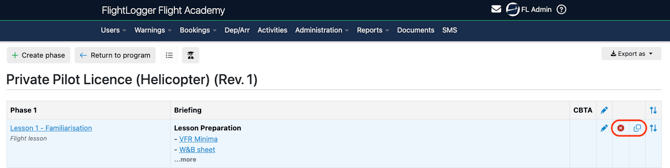
*Note: All revisions with no students will display these two extra columns. Revisions that already have active or previously active students will not show these two columns.
Activating the New Revision
When you’re ready:
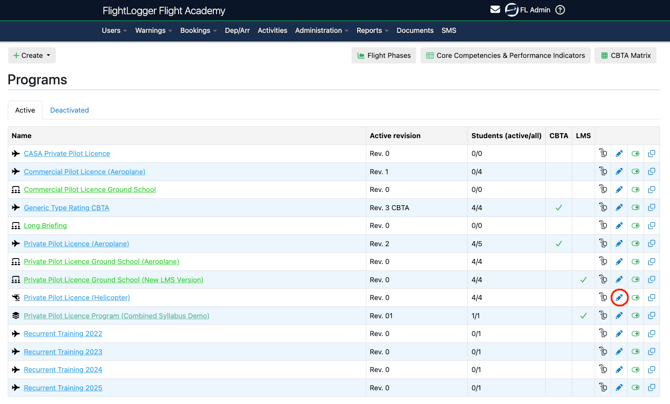
Go back to the Program page and click the Edit icon.
Select the new revision in the dropdown and click Update Program.
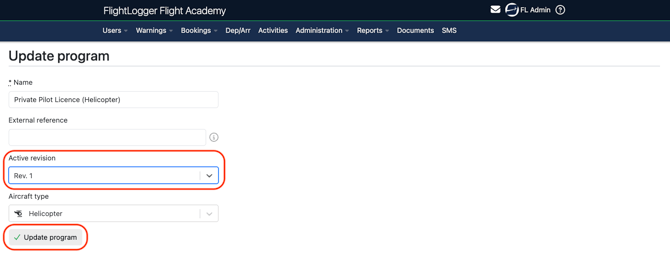
From now on, any new students you add will join the new revision.
*Note: Existing students remain on the revision they started with. This ensures compliance and prevents mismatches between your training manuals and student records.
Related resources
Need help?
If you need assistance creating or structuring your training programs, feel free to contact our support team via the Get Support button inside FlightLogger