
Permission
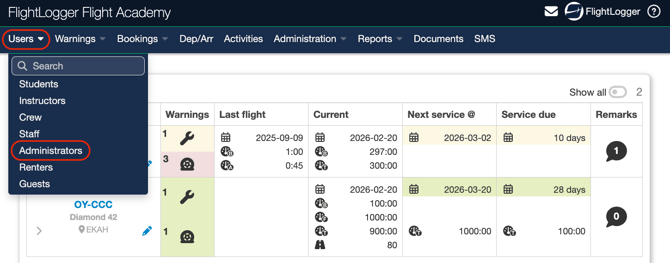
To create a user related requirement, you must have the user role of Administrator.
Creating the Certificate Requirement
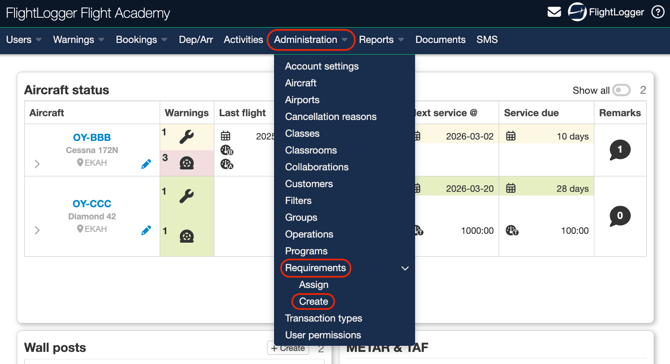
To start with requirements, go to Administration, open the drop down menu, select Requirements, and choose Create.
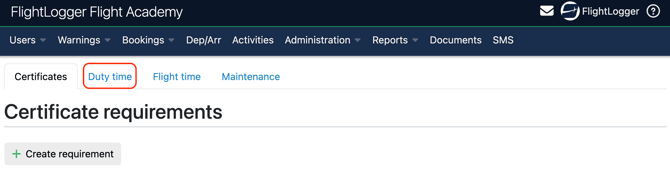
This opens the Certificate requirements area, where you must choose Duty Time
*Note: If you need an explanation of what the different columns and symbols on the requirements page mean, you can refer to this article for a detailed overview: Getting started with requirements****
Click Create Requirement
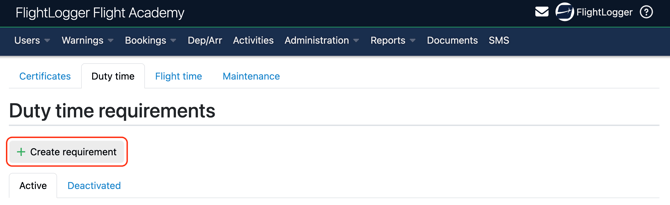
This will take you to the Create duty time requirement page, where you can define and configure the new requirement.
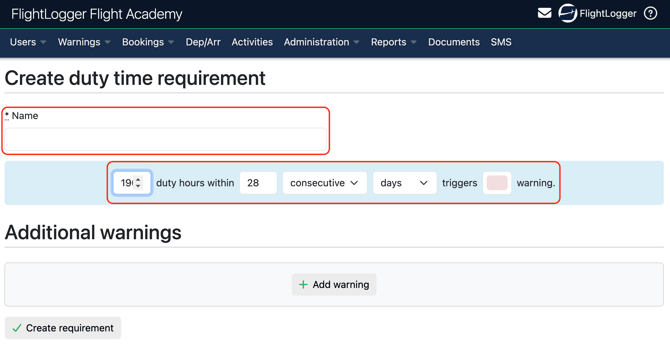
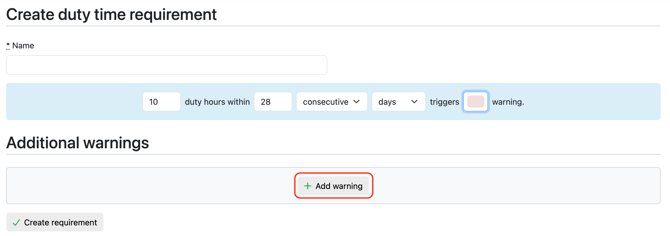
Start by entering a Name for the requirement.
Next, you must define the number of duty hours that should be tracked within a specific period.
You can choose whether the period is based on consecutive days or calendar days.
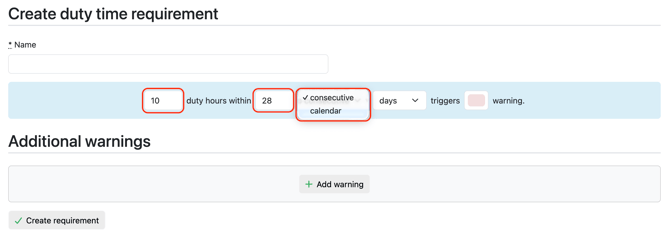
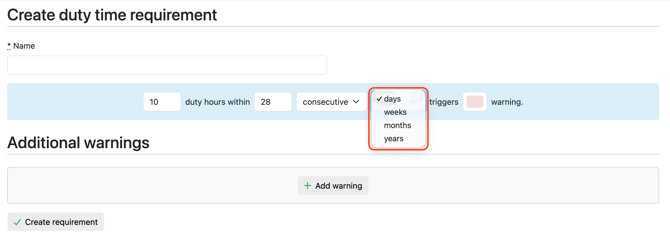
Lastly, you must define the length of the period in days, weeks, months, or years.
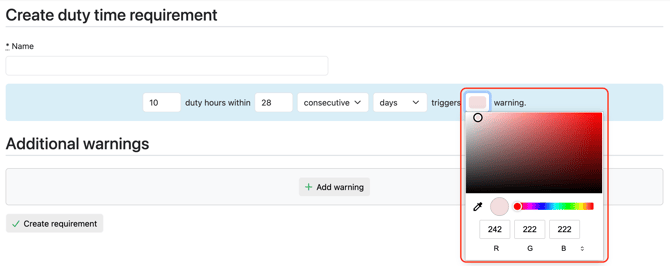
Once configured, the system will trigger a warning when the defined limit is reached. By default, this warning is shown in red. The color can be changed by selecting it and adjusting it in the color configuration window.
Use the information above as a starting point to create a master Duty times requirements list.
Editing options
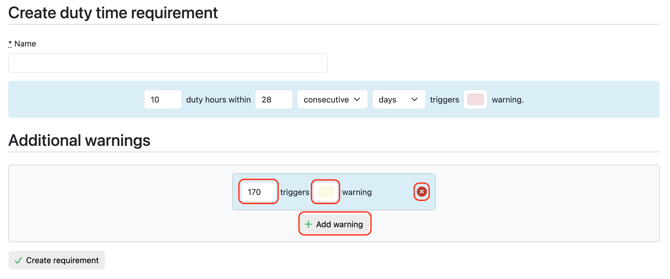
Selecting Add warning opens a pop up window in the Additional warnings section. This allows you to create extra warning levels before the main limit is reached.
The default warning is set at 170 hours. You can adjust this value manually and add one or more earlier warning thresholds. Multiple warning levels can be configured, depending on how early you want to be notified.
The warning color can be changed by selecting the color field.
If you want to remove a warning, you can delete it using the delete option next to the specific entry.
When you have completed the setup, remember to select Create requirement to save the configuration.
Need help?
If you have questions about setup, permissions, or best practices, contact us at support@flightlogger.net