Use this guide to learn how to create / activate and deactivate classrooms in FlightLogger.
Setup is quick, and you can add as many rooms as you need.
It is not limited to classrooms. You can also create briefing rooms, meeting rooms, accommodation, or any other space you want to schedule.
Creating Classrooms
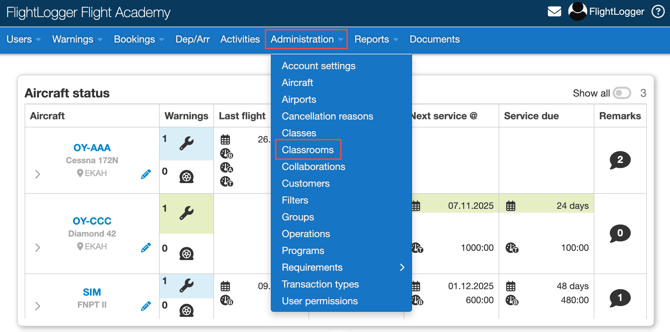
As an administrator, go to Administration then Classrooms.
Create
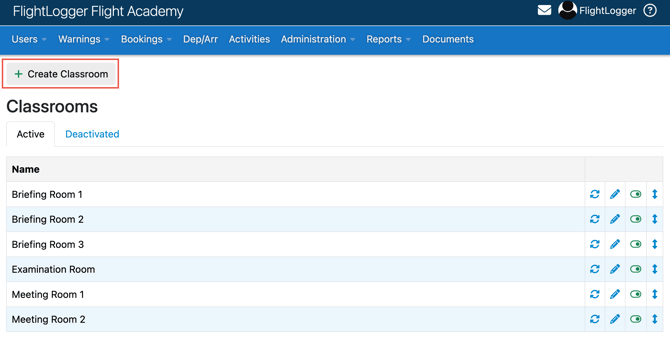
Click Create Classroom.
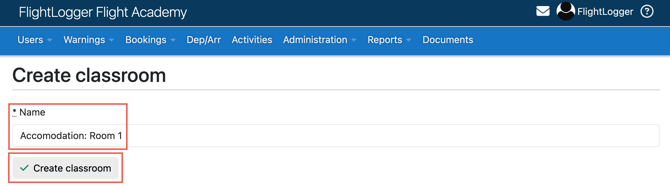
Enter a name, then select Create Classroom.
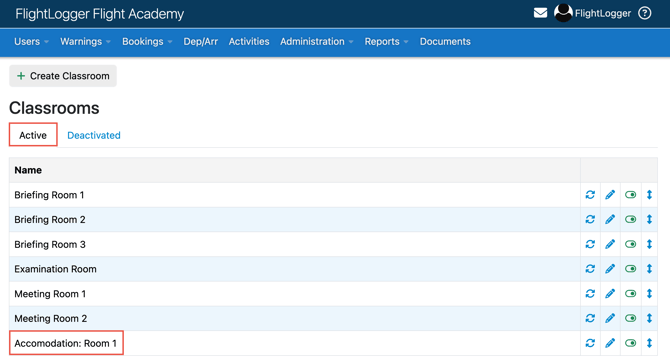
The newly created resource will now appear on the Active list by default.
Tools on the Classrooms page
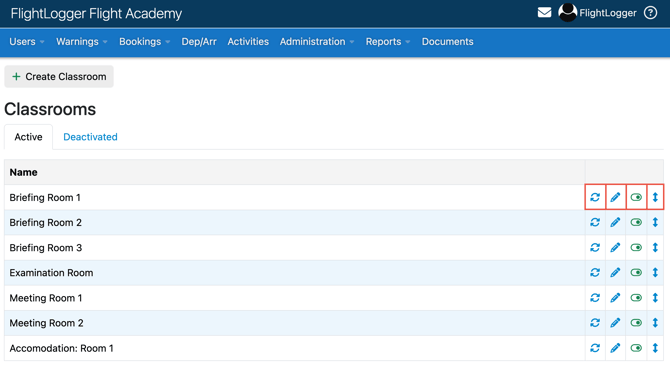
On the right-hand side of the Classrooms page, you will see several columns:
- Circle icon: Lets you synchronize the classroom with your calendar.
- Pencil icon: Opens the edit page.
- Green activation button: Used to deactivate (or activate) a specific classroom.
- Up and down arrows: Change the order of the classroom (This is the order in which the classrooms will show on your bookings page)
Status
All classrooms are either active or deactivated. Deactivation does not delete data. A deactivated room cannot be used on the booking page or for registrations. You can reactivate it anytime from the Deactivated list.
Need help?
If you need assistance creating or structuring your training programs, feel free to contact our support team via the Get Support button inside FlightLogger