
This guide explains how to set up and manage certificate requirements across users, programs and resources in FlightLogger. It shows how certificate tracking helps you maintain compliance while giving clear and up to date visibility to everyone involved, from administrators to day to day users.
Permission
To create and assign user related requirements, you must have the role of Administrator.
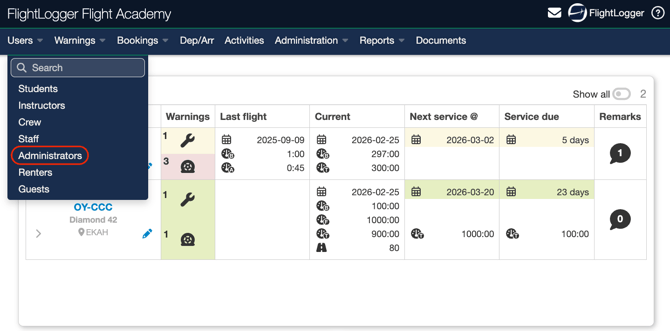
See this article to learn more about Permissions.
Information on Requirements
To start with requirements, go to Administration, open the drop down menu, select Requirements, and choose Create.
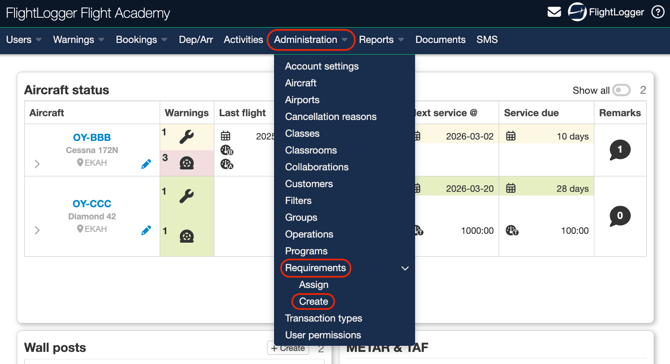
This opens the Certificate requirements area, where you decide what type of requirement you want to set up.
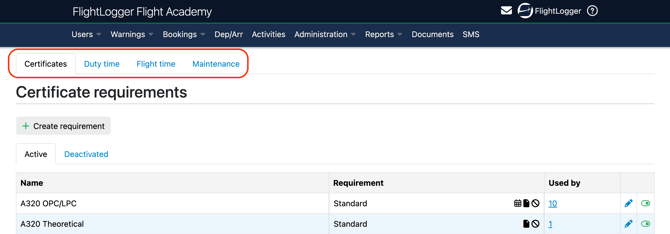
*Note: The example shown in the image above, applies when the Flight Time Limitation Module (FTLM) is enabled on your account. You will therefore manage the creation of flight time and duty time requirements on the same page and in the same manner as other requirements.
You will also see the Active and Deactivated tabs. The Active tab is shown by default and displays all current requirements for the selected area, whether they are certificate requirements, maintenance requirements, or, if the flight time limitation module is enabled, duty time and flight time requirements.
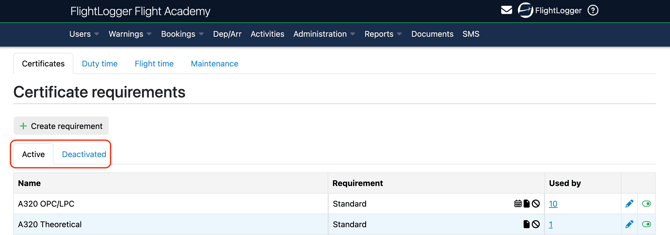
The Deactivated tab contains requirements that are no longer in use.
*Note: Deactivating a requirement does not remove it from users, programs, or other items it is already attached to. The requirement will remain active for those assignments. If you want a requirement to be completely removed (or edit it), you must first remove it from all users, programs, or resources, and then deactivate it.
*Note: Requirements are only tracked for active users. Any other status other than "Active", and requirement tracking is suspended automatically.
All requirements are listed and divided into columns to make the information easy to review.
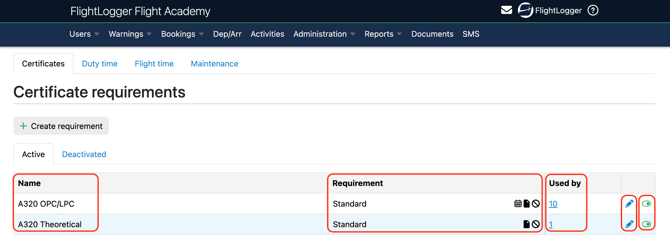
The first column shows the Name you have given the requirement.
The Requirement column shows the type of requirement, either:
-
a Standard certificate
-
a Medical requirement
-
a Language proficiency

To the right hans side of the Requirement column, you will see a set of icons that reflect how the requirement is configured.

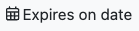
A calendar icon indicates that the requirement has an expiry date.
A document icon shows that a document upload is required.

A circle with a line through it indicates that the requirement is a blocking requirement.

The Used by column shows how many users, resources, or programs the requirement is currently attached to. Selecting this number lets you see exactly where the requirement is applied.
The edit option, shown with a pencil icon, allows you to change the requirement. If users, programs, or resources are already attached, you can only edit the name, the default warnings and whether the requirement/certificate should have a blockable function. If nothing is attached yet, you can change other settings, such as whether an expiry date is required etc..
The final column contains the toggle used to activate or deactivate the requirement.
Understanding the Used By column
In the Used by column, select the number shown.

*Note: In FlightLogger, any text shown in blue is a quick link that opens additional information.
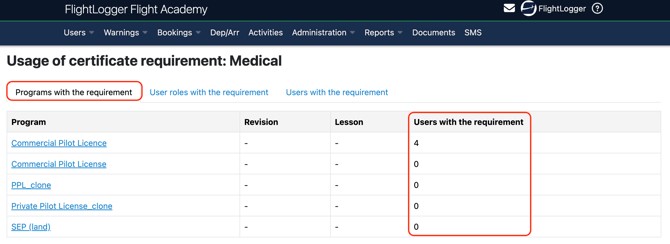
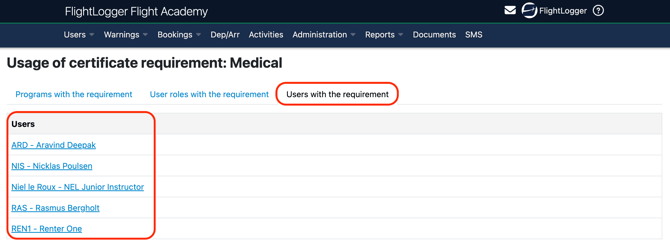
Selecting this number opens the of Usage of certificate requirement view. Here you will see three sections.
The first section shows programs with the requirement. This lists all programs the requirement is attached to. In the column on the right, you can also see how many users are currently affected through each program.
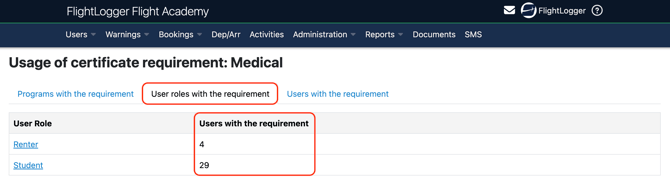
The next section shows user roles with the requirement. This breaks the usage down by role and shows how many individual users have the requirement through each role.
The final section shows users with the requirement. This lists the individual users who have the requirement directly attached to them.
Creating User related requirements
Creating user related requirements allows you to define and track any certificates or requirements needed for the users in your account. This makes it easier to keep oversight of compliance by linking requirements directly to specific users or groups of users, helping distribute responsibility and reduce manual workload.
Creating the Certificate Requirement
To start with requirements, go to Administration, open the drop down menu, select Requirements, and choose Create.
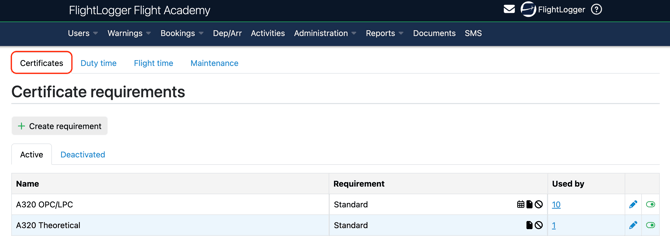
This opens the Certificate requirements area, where you must choose Certificates (It is the default selection)
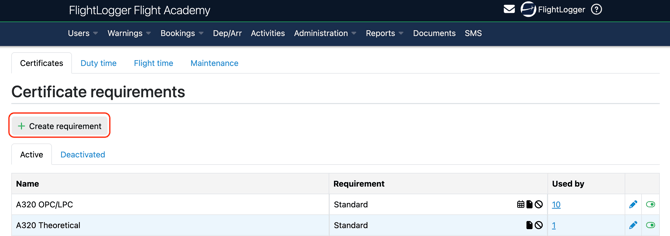
Click Create Requirement
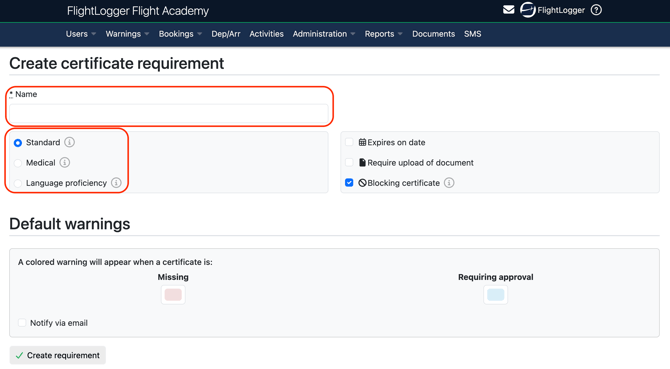
This will take you to the Create certificate requirement page, where you can define and configure the new requirement.
Start by entering a Name for the requirement. You must then choose between three types of requirements, Standard, Medical, or Language proficiency.
Standard requirement

These are used for general certificates. It can be configured with or without an expiry date and with or without a document upload requirement.
This type should be used for certificates such as passports, airport IDs, ratings, and similar documents.
*Note: All requirements have blocking enabled by default. You can remove this by unchecking the option if blocking is not needed.vA blocking requirement can prevent actions if the certificate has not been uploaded or is not valid. Depending on your account settings, blocking can apply during booking creation or at the flight registration stage.
For more details on how blocking works together with your configuration, please refer to the article Blocking of booking creation in case of warnings.
Medical requirement

The medical class, such as Class 1, Class 2, Class 3, or LAPL, is selected when the medical requirement is assigned to a user(s).
*Note: When you choose to create a medical requirement, the options for expiry date, document upload, and blocking are enabled by default. These settings can be adjusted if needed, depending on your local rules and regulations and how you want the requirement to function in your account.
Language proficiency requirement

These may also include a document upload, depending on your preference. When fulfilling the requirement, the user must select a language level from 1 to 6.
If a Level 6 certificate is uploaded, the language proficiency will have no expiry, as this is the default setting.
*Note: When creating a language proficiency requirement, the options for expiry date, document upload, and blocking are enabled by default. However, only the document upload requirement and blocking can be changed. The expiry date setting cannot be removed, as language proficiency certificates must always expire on a defined date Unless it is level 6) according to standard rules.
Editing options
The system includes default warning colors for missing requirements, expired requirements, and requirements awaiting approval. These colors provide a clear visual indication of the current status.
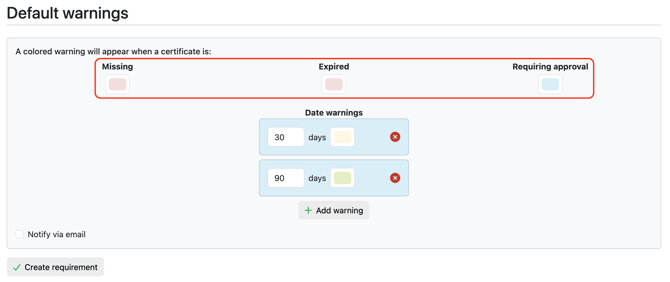
Administrators can change these colors by clicking on the colour box, which opens the color configuration window. Here, you can define your own custom colors as needed.
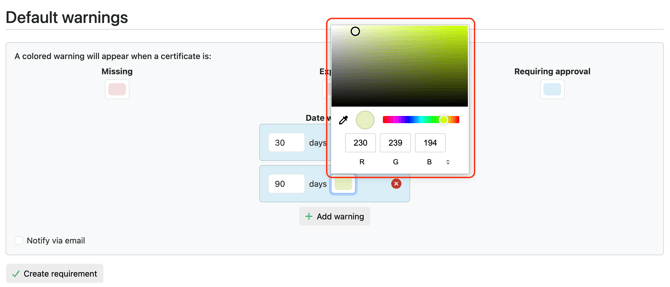
The selected colors will be reflected on the user profile page and on the front page, giving users immediate visual feedback on their own requirements..
Under the Default warnings, all warning time intervals can also be edited to match your operational needs. These will define how long before expiry a notification should be triggered.
You can also change the warning colors, as described earlier.
If you want to remove a default warning, you can delete it using the delete option.
You may also add additional warnings, for example a third or fourth time based reminder, depending on how early you want to be notified.
For user requirements, you can enable email alerts. When this is activated, the user will receive automatic emails from FlightLogger at the defined intervals, for example 90 days before expiry, 30 days before expiry, and again on the expiry date itself. These notifications follow the warning intervals you configure.
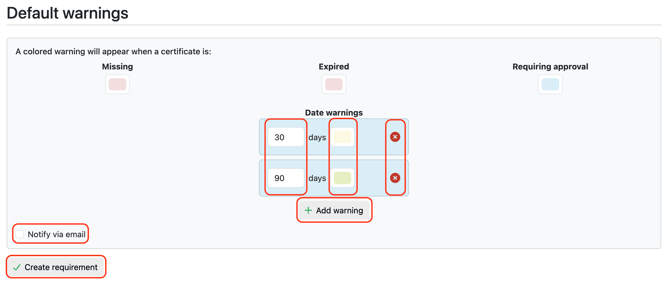
When you have finished configuring the requirement, remember to select Update requirement to save it.
Use the information above as a starting point to create a master Certificate requirements list, ready to be assigned to your users.
Need help?
If you need assistance, feel free to contact our support team via the Get Support button inside FlightLogger